How to Install pgAdmin (Graphical Interface tool) on Windows 10 in PostgreSQL

In the previous blog, we saw How to Install PostgreSQL 13 on Linux, Click here to read more. We can use a command-line utility called psql to administer PostgreSQL Server. But if you want you can install a graphical tool called pgAdmin.
This post will see How to download and install the pgAdmin Graphical Interface tool for database management and connect to the same PostgreSQL Server we created in the above post.
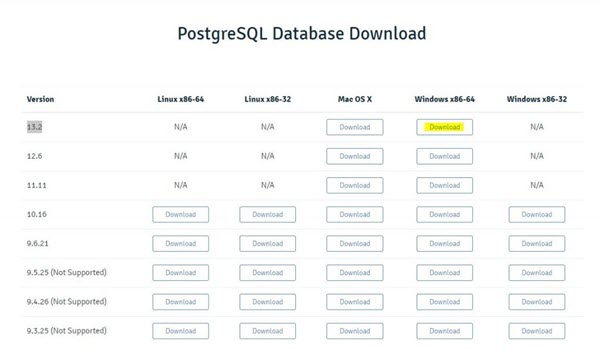
Step 1. Download PostgreSQL Installer for Windows: Click here to download postgresql-13.2-2-windows-x64.exe. Once you open url, refer to the below image to download.
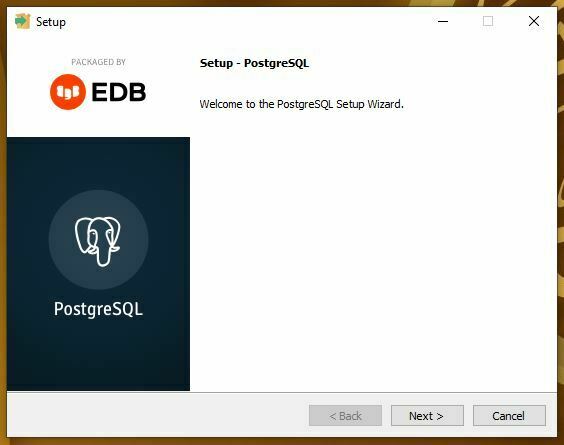
Step 2. Double click on the installer file: Double click on the executable file: postgresql-13.2-2-windows-x64.exe to being with the installation process.
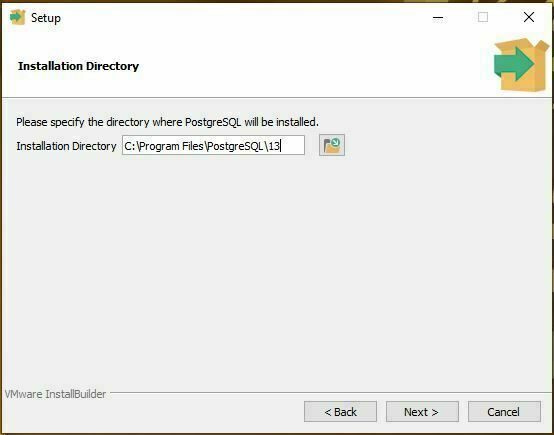
Step 3. Specify installation folder:
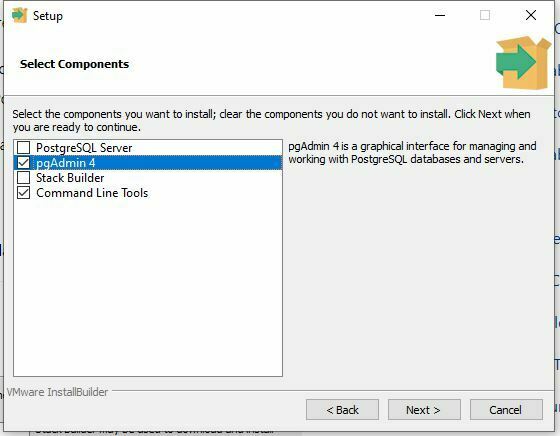
Step 4. Select software components to install: We will select components pgAdmin & Command Line Tools, If you want to install PostgreSql-13 in Window Environment you can select compnent: PostgreSql Server as well with selected components.
Step 5. Review summary information of PostgreSQL:

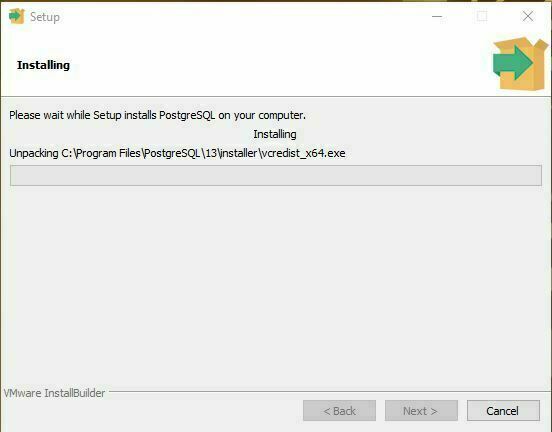
Step 6. Start Installation:
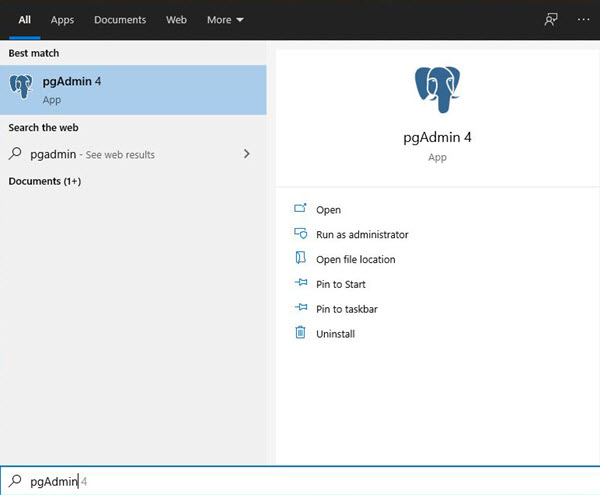
Step 7. Launch pg4Admin: Type pgAdmin in search.
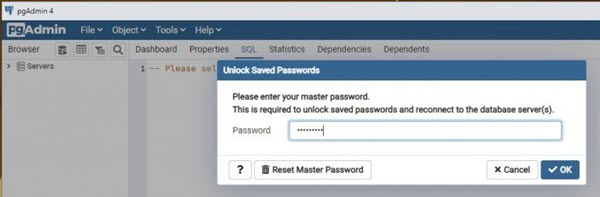
Step 8. Setup Master Password:
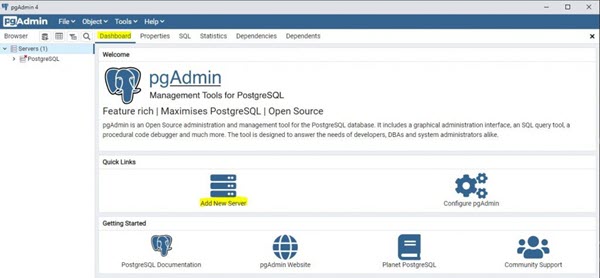
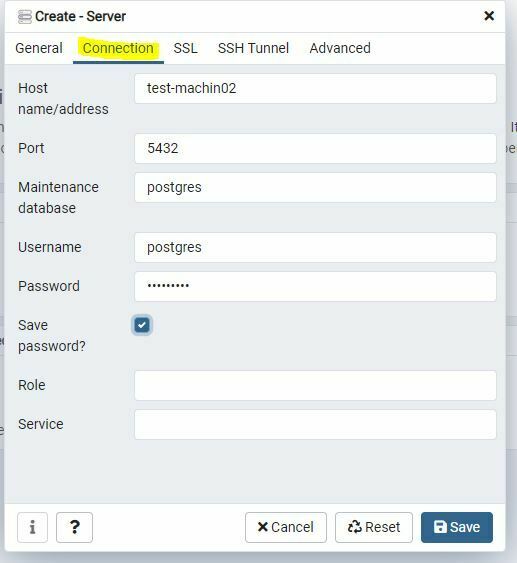
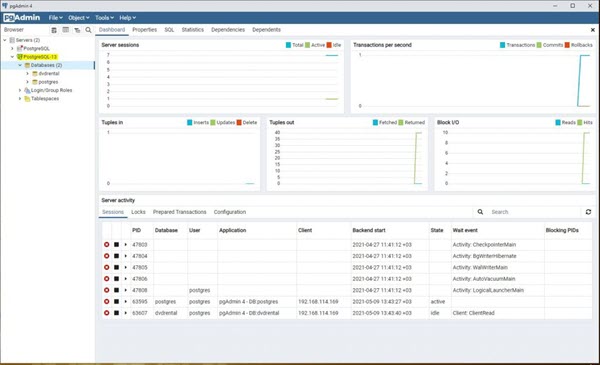
Step 9. Add PostgreSQL Server: Click on Dashboard Tab and then click on Add new Server (refer below image highlighted in yellow color), This will open a small dialogue box where we need to enter PostgreSQL Servers details. Click on General Tab and provide any connection name then Click on Connection Tab and provide IP/Hostname , Userid, Password, Port, etc. Once click on the Save button pgAdmin will connect to PostgreSQL instance.
Note: Make sure to enable remote connection in PostgreSQL Server before attempting in pgAdmin otherwise you will receive the error. Click here to read more.

This document is just for learning purpose and always validate in the LAB environment first before applying in the LIVE environment.
Hope so you like this article!
Please share your valuable feedback/comments/subscribe and follow us below and don’t forget to click on the bell icon to get the most recent update. Click here to understand more about our pursuit.
Related Articles
- Access the MSSQL database from PostgreSQL using TDS Foreign Data Wrapper (TDS_FDW)
- Access MySql database from PostgreSQL using MySQL Foreign Data Wrapper (MYSQL_FDW)
- Configure and monitor using pg_profile in PostgreSQL
- Monitor PostgreSQL Cluster using pgCenter
- Install and Configure pg_repack in PostgreSQL
![]()